How to Set Up an Online Store with Shopify (Beginner’s Guide)
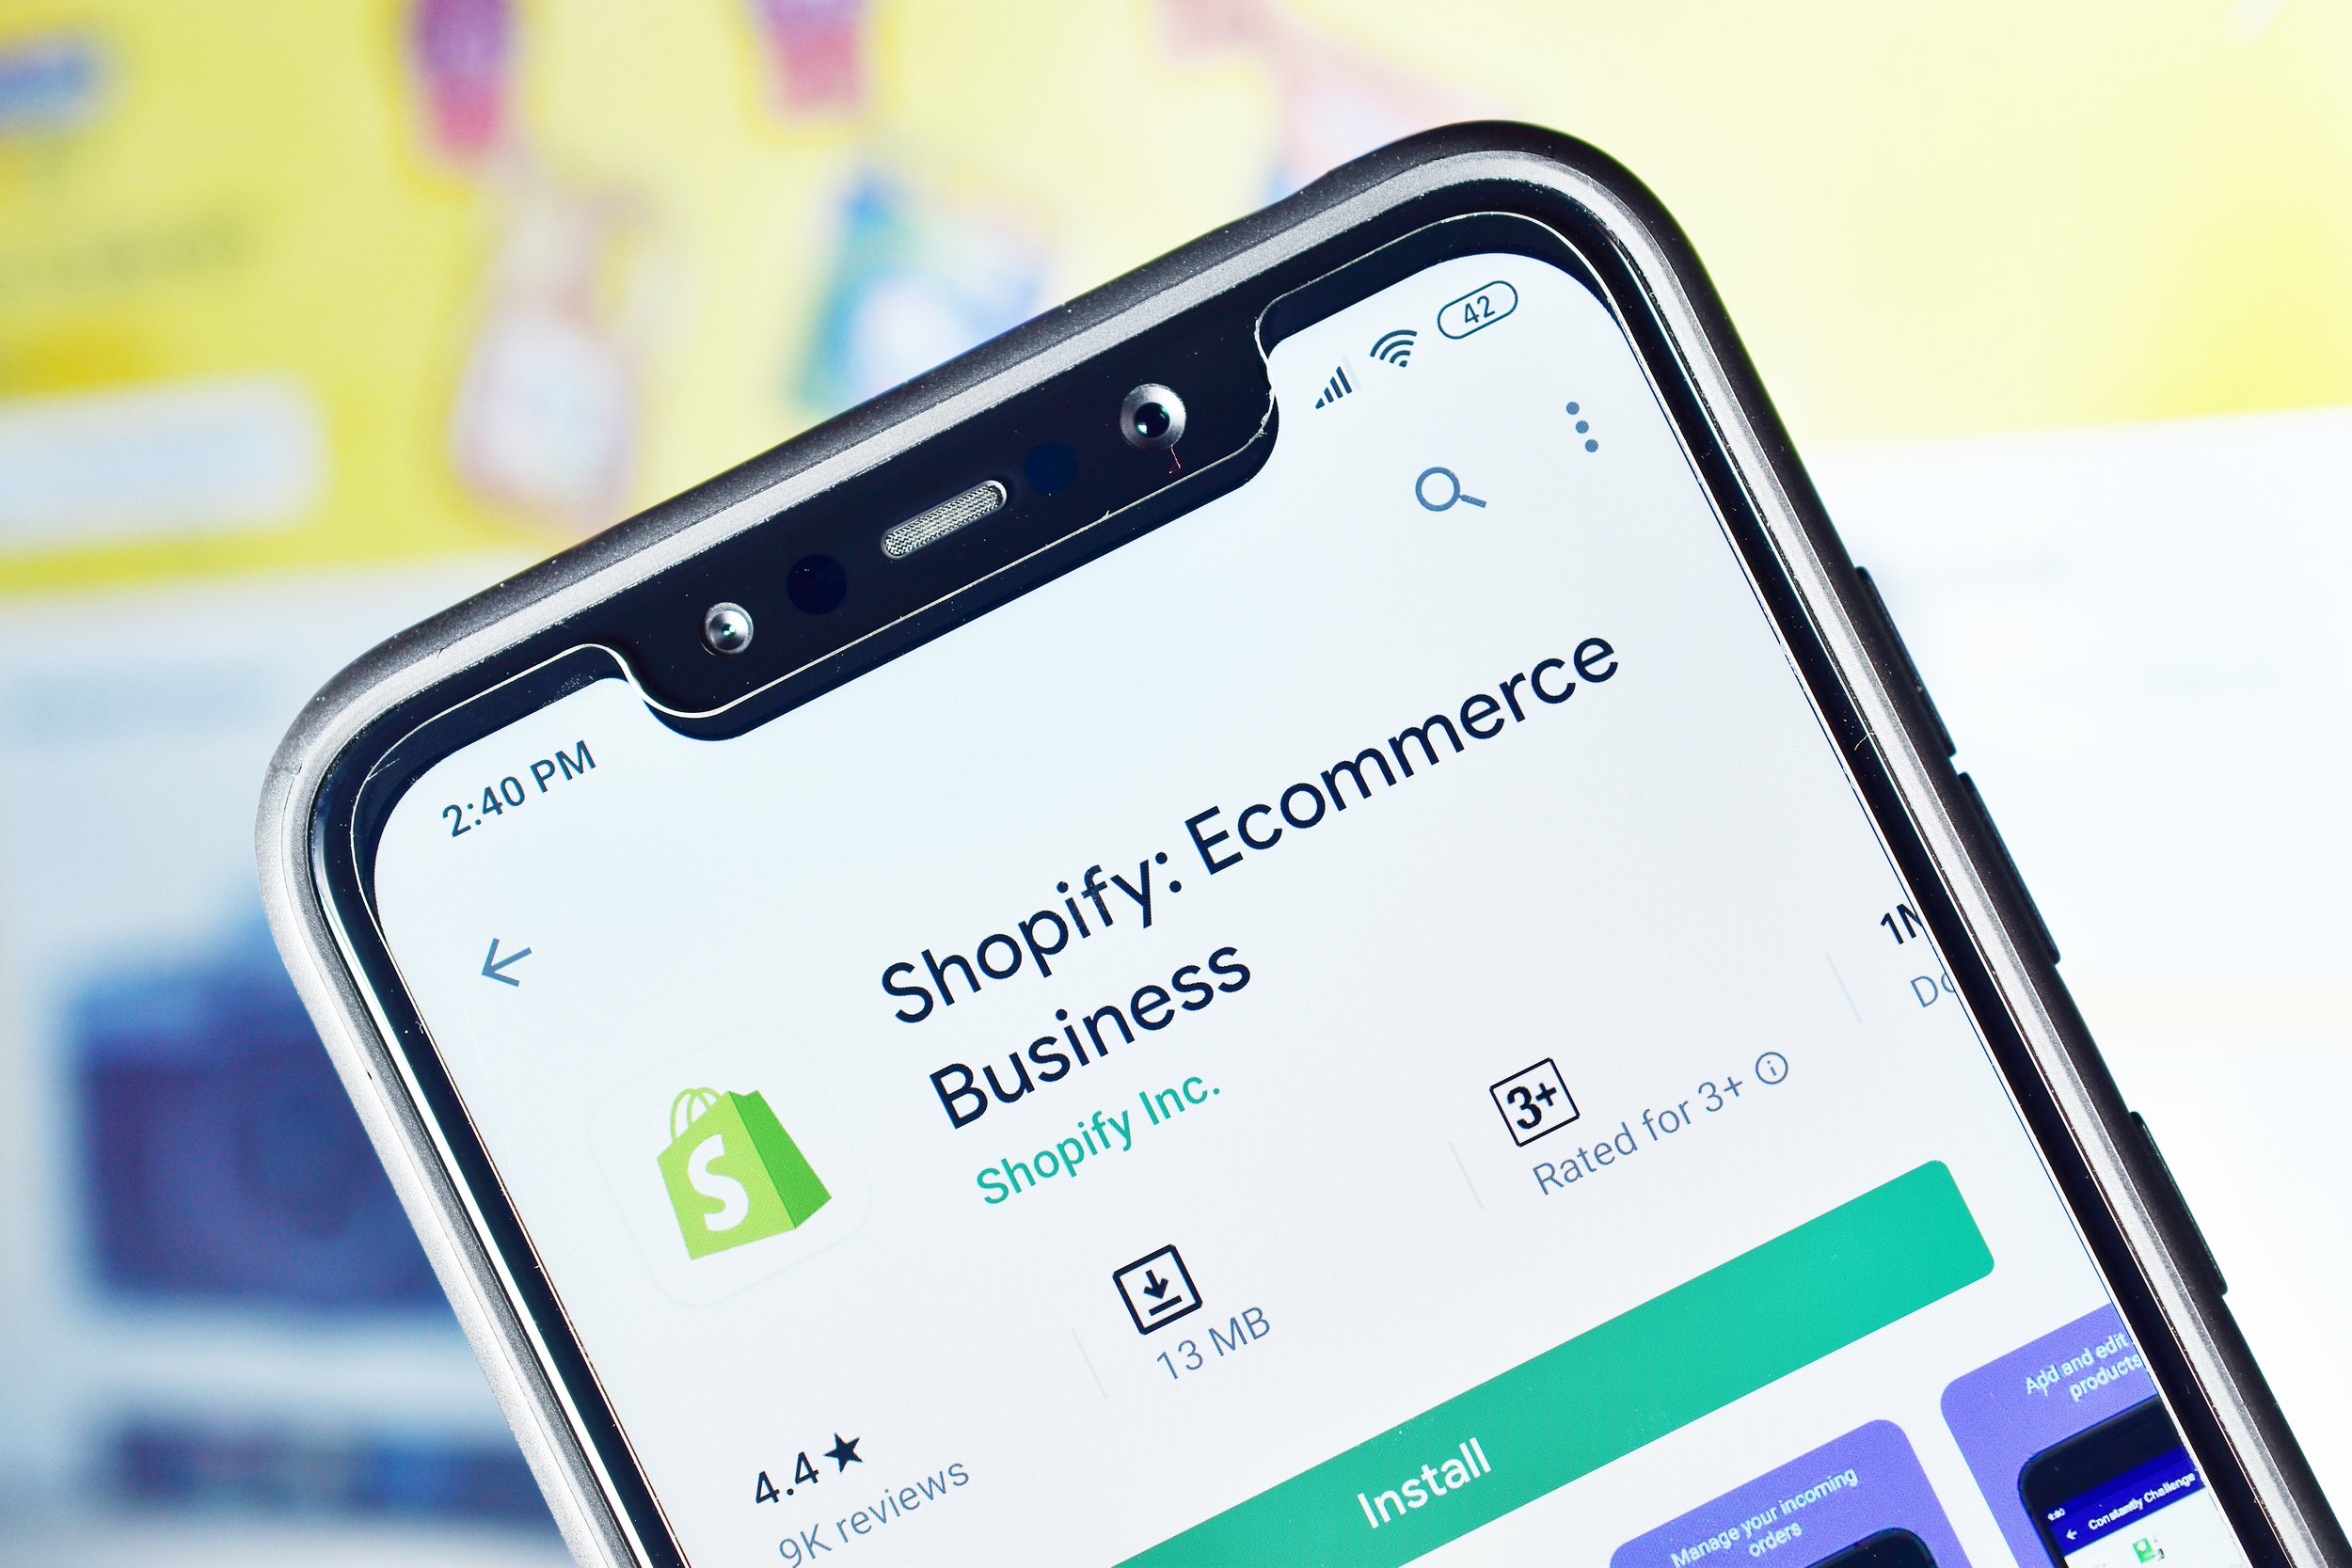
Close-up of a smartphone screen displaying the Shopify Ecommerce Business app on the Google Play Store, showing a 4.4-star rating and install button. The Shopify logo is clearly visible, highlighting the app’s use for managing online stores and e-commerce businesses.
Launch your business in a weekend, no tech degree required.
Starting an online store might sound overwhelming—but it doesn’t have to be. With Shopify, you can have a beautiful, functional e-commerce site up and running in just a few hours. Whether you’re selling handmade goods, digital downloads, or your new merch line, this step-by-step guide will walk you through the essentials without all the tech jargon.
Let’s keep it simple, actionable, and beginner-friendly. Ready?
Step 1: Sign Up for Shopify
First things first—head over to Shopify.com and sign up for a free trial. You’ll just need your email, a password, and a name for your store (you can change this later).
💡 Tip: Pick a store name that’s short, memorable, and easy to spell.
Step 2: Choose a Theme
Once you’re in your dashboard, you’ll be prompted to select a theme. Shopify offers both free and paid themes, all mobile-friendly and customizable.
Browse the Shopify Theme Store
Choose one that matches your brand vibe
Click "Customize" to tweak colors, fonts, and layout
💡 Tip: No design skills? No problem. Start with a free theme like “Dawn” or “Craft” for a clean and professional look.
Step 3: Add Your Products
Now it’s time to load in the good stuff—your products!
Go to Products > Add Product
Upload photos (use natural lighting or clean mockups)
Write short but clear titles and descriptions
Set prices, inventory, and shipping details
💡 Tip: Use square photos (1:1 ratio) and stick to consistent lighting to keep your shop looking polished.
Step 4: Set Up Your Pages
Your store needs more than just products. Add a few key pages to build trust:
About – Share your story
Contact – Add a contact form or email
FAQ – Answer common questions
Policies – Include shipping, returns, and privacy policies
You can do all this under Online Store > Pages.
Step 5: Configure Payments & Shipping
Under Settings, set up how you’ll get paid and ship your orders:
Payments: Connect Shopify Payments, PayPal, or other gateways
Shipping: Set flat rates or offer free shipping over a certain amount
Taxes: Shopify helps you automatically calculate based on location
💡 Tip: Make sure you test the checkout process before going live.
Step 6: Launch Your Store
You’re almost there! Just a few final steps:
Choose a Shopify plan
Connect your domain (buy one through Shopify or use your own)
Hit “Remove Password” under Online Store > Preferences
🚀 Congrats! You’re live. Start sharing your store link with friends, on social, and anywhere your audience hangs out.
Final Thoughts
Setting up a Shopify store doesn’t have to be a tech headache. With the right tools and a bit of focus, you can build a beautiful online presence that’s ready to sell in just a weekend. Don’t aim for perfection—just get it live and improve as you go.
And if you ever need branding or design help along the way, you know where to find us.


